
- Published on
Preventing CGM Skin Irritation: A Step-by-Step Guide
Have you ever peeled off your Continuous Glucose Monitor (CGM) only to find a red, itchy, angry patch of skin staring back at you? If so, you are definitely not alone. While CGMs are incredible tools for tracking your blood sugar in real time, the strong adhesives used to keep them attached can take a heavy toll on your skin.
This unpleasant reaction is often a form of contact dermatitis (an inflammatory skin reaction caused by contact with a specific substance). Dealing with constant itching, redness, or even blisters can make you want to give up on your sensor altogether. Fortunately, you do not have to choose between healthy skin and stable glucose levels. With a few simple, proactive steps, you can keep your skin happy, healthy, and rash-free for the entire life of your sensor.
Let's walk through a complete, step-by-step guide to preparing, protecting, and soothing your skin during CGM wear.
What You Need for a Rash-Free Sensor Wear
Before we dive into the steps, it helps to gather a few skin-friendly supplies. Having these tools on hand will make your application routine much easier and more effective:
- Fragrance-free soap: Avoid heavily scented body washes, which can leave a residue or irritate the skin.
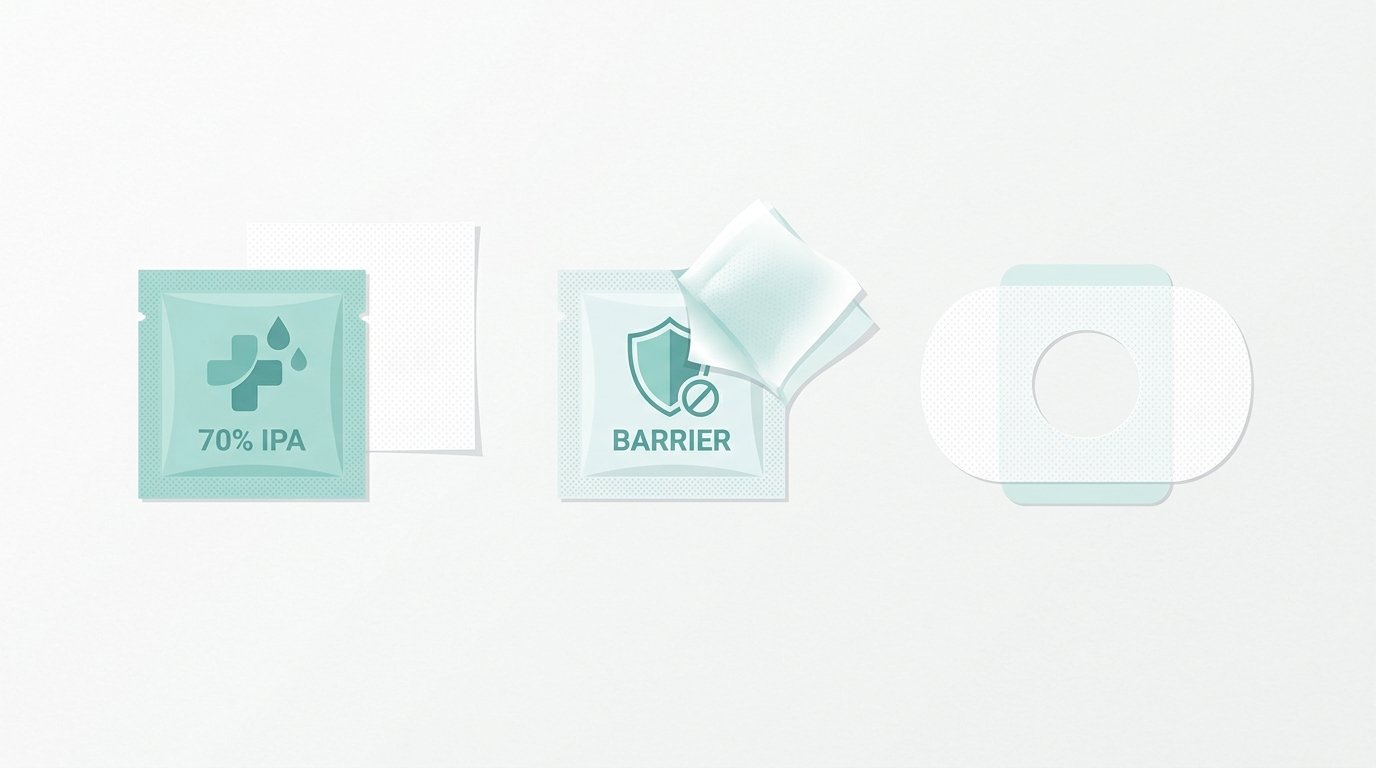
- Isopropyl alcohol wipes: Essential for sanitizing the area and removing natural skin oils.
- A liquid skin barrier: Wipes or sprays (such as Cavilon or Skin-Prep) that create a protective layer between your skin and the adhesive.
- Hypoallergenic under-patches: Physical barriers (like Tegaderm or hydrocolloid patches) that sit directly beneath the sensor.
- An adhesive remover: Oil-based solutions or specialized medical adhesive removers to gently dissolve the glue when it is time to take the sensor off.
Step 1: Prep the Skin (Exfoliate and Cleanse)
The foundation of a rash-free CGM experience starts long before you click the transmitter into place. If you apply a sensor over dead skin cells, trapped sweat, or body oils, you are practically inviting irritation and peeling.
First, gently exfoliate the target area using a washcloth or an exfoliating mitt during your shower. This removes the loose, dead skin cells that can interfere with the adhesive.
Next, wash the area thoroughly with a simple, fragrance-free soap. Avoid moisturizing soaps (like those containing shea butter or heavy oils), as they leave a microscopic film on your skin that prevents the sensor from sticking properly. After your shower, dry the area completely with a clean towel.
Finally, wipe the insertion site with an isopropyl alcohol prep pad. This sanitizes the skin and strips away any remaining surface oils.
Pro tip: Let the alcohol air-dry completely for at least two minutes. Applying a sensor to wet, alcohol-soaked skin is one of the most common causes of chemical burns and severe irritation.
Step 2: Create a Protective Liquid Barrier
If your skin is sensitive to the acrylates (the chemical bonding agents) used in medical adhesives, a liquid skin barrier is your best friend. These products act like a second skin, forming a microscopic shield that prevents the adhesive from making direct contact with your epidermis (the outermost layer of skin).
To apply a liquid barrier:
- Wipe or spray the product onto the clean, dry insertion site.
- Draw an imaginary circle where your sensor's needle will insert, and try to leave a tiny spot of bare skin in the very center if possible.
- Let the liquid barrier dry completely. It should feel slightly tacky to the touch, not wet or slippery.
Using a liquid barrier also has an added bonus: it helps the sensor stick better, especially if you live in a humid climate or exercise frequently.
Step 3: Use a Physical Under-Patch Barrier
Sometimes, a liquid barrier is not quite enough to stop severe allergic contact dermatitis. If you are still experiencing redness and itching, it is time to introduce a physical barrier.
An under-patch is a thin, medical-grade tape that you apply to your skin first. The CGM sensor is then applied directly on top of the patch, meaning the harsh sensor adhesive never actually touches your body.
You can purchase pre-cut hypoallergenic under-patches online, or you can make your own using thin polyurethane films like Tegaderm. If you make your own, use a standard paper hole punch to create a small hole in the center of the patch. This ensures the sensor's cannula (the tiny tube that sits under your skin to measure glucose in your interstitial fluid) can pass through easily without dragging any adhesive or plastic into your body.
Step 4: Perfect Your Site Rotation and Placement
Your skin needs time to heal and breathe between sensor sessions. Applying a new CGM sensor to the exact same spot where you just removed one is a fast track to chronic irritation and scarring.
Always rotate your sites. If you wear your sensor on your back of your arm, alternate arms with every single sensor change. If you use your abdomen, keep your new insertion site at least 2 inches (about 5 centimeters) away from your previous site.
Additionally, avoid placing your sensor in areas where your skin naturally folds, or where your clothing rubs against it (like your waistband). High-friction areas constantly pull on the sensor adhesive, which micro-tears the skin and leads to localized inflammation.
Step 5: Master the Art of Safe, Gentle Removal
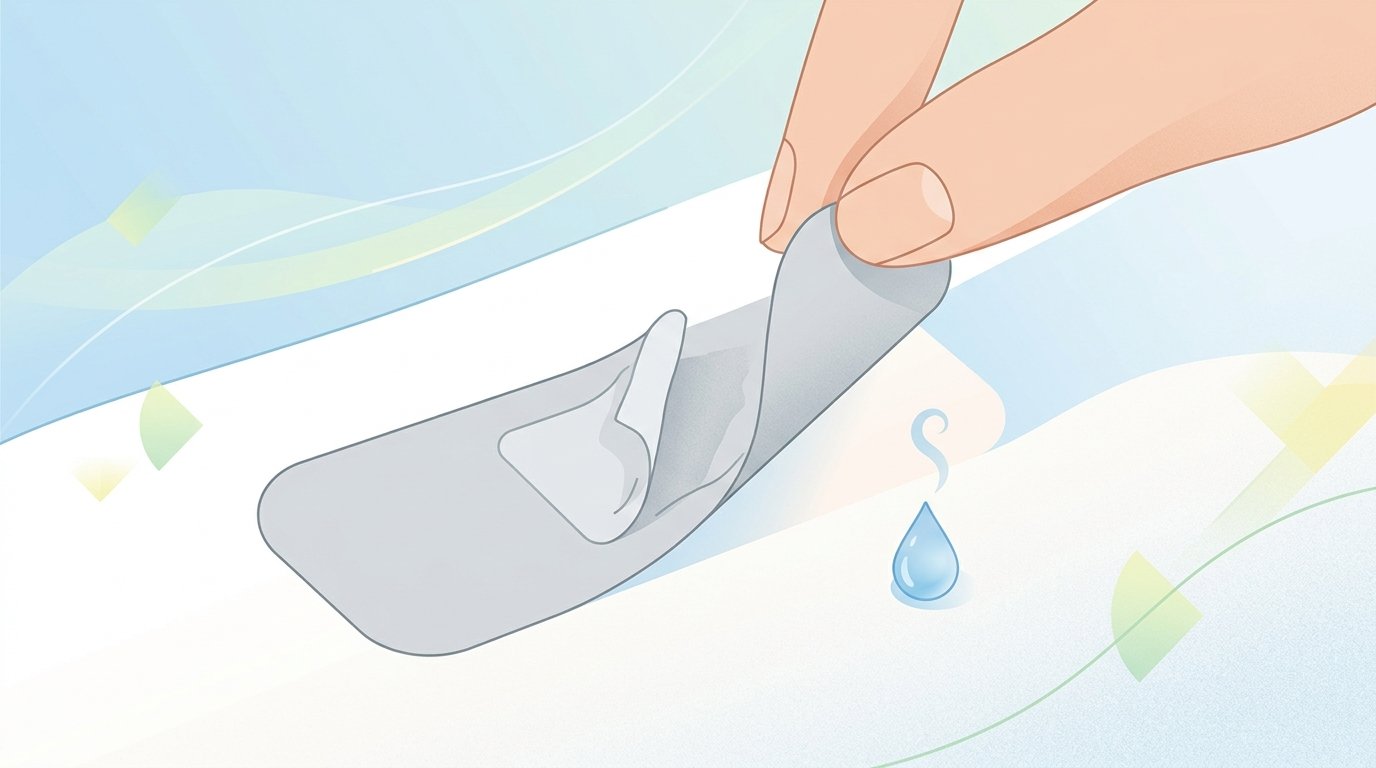
Many people assume that CGM skin damage happens while wearing the device, but a significant portion actually occurs during removal. Ripping a sensor off like a Band-Aid pulls away healthy skin cells along with the adhesive, leaving the area raw and vulnerable.
Never rip your sensor off. Instead, use an oil-based adhesive remover or even simple baby oil.
To remove your sensor safely:
- Saturate the edges of the sensor tape with adhesive remover or baby oil.
- Wait 5 to 10 minutes to allow the solution to break down the chemical bonds of the glue.
- Gently peel the tape back, keeping it flat and close to your skin rather than pulling it straight up.
- Once the sensor is off, wash the area with warm water and soap to remove any leftover residue.
After removal, show your skin some love. Apply a gentle, soothing cream containing aloe vera, chamomile, or colloidal oatmeal. If the area is highly inflamed or itchy, a tiny dab of over-the-counter hydrocortisone cream (0.5% or 1%) can help calm the immune response. Just make sure the skin is fully healed before you ever place a sensor near that spot again.
Troubleshooting Common Skin Issues
Even with a perfect routine, unexpected issues can still pop up. Here is how to handle them:
Issue 1: My sensor peels off early when I use barriers.
Solution: Make sure you are giving each layer (alcohol, liquid barrier, and patches) plenty of time to dry. If you apply the sensor too quickly, the layers slide around. You can also apply a breathable medical over-patch over the top of the sensor to lock it down securely.
Issue 2: I get intense, unbearable itching within 24 hours.
Solution: This is likely a true allergic reaction to the specific adhesive. A liquid barrier may not be enough. Talk to your doctor or endocrinologist about trying a different CGM brand, or ask about prescription-strength topical steroid sprays (like fluticasone propionate) that can be applied to the skin and dried before sensor insertion.
Key Takeaways
Managing your skin health is just as important as managing your glucose curves. To keep your skin clear and comfortable, remember these core principles:
- Clean and dry: Wash with fragrance-free soap, use alcohol, and let the skin dry completely.
- Create a shield: Use liquid barrier wipes or physical under-patches to block irritating adhesives.
- Keep moving: Rotate your insertion sites with every single sensor change to give your skin time to recover.
- Remove with care: Use oil or adhesive removers to gently dissolve the glue rather than pulling it off forcefully.
- Soothe the aftermath: Hydrate and calm the skin immediately after sensor removal.
Your Next Steps to Happy Skin
By making these simple adjustments to your sensor-change routine, you can enjoy all the life-saving benefits of continuous glucose monitoring without the frustrating itch and irritation.
When you are tracking your metabolic health, consistency is key. Skin irritation shouldn't stand in the way of your health goals. Using a smart glucose tracking app like GlucoAI can help you log your sensor change days, track which insertion sites give you the best readings, and monitor your overall metabolic trends with ease.
Please consult your doctor or a dermatologist if you experience severe blistering, bleeding, or signs of infection at your insertion site. Take care of your skin, and it will take care of you!
GlucoAI — Smart Blood Sugar Monitor
Track, analyze, and optimize your glucose levels with AI-powered insights.