- Published on
Mastering the First 24 Hours of a New CGM Sensor
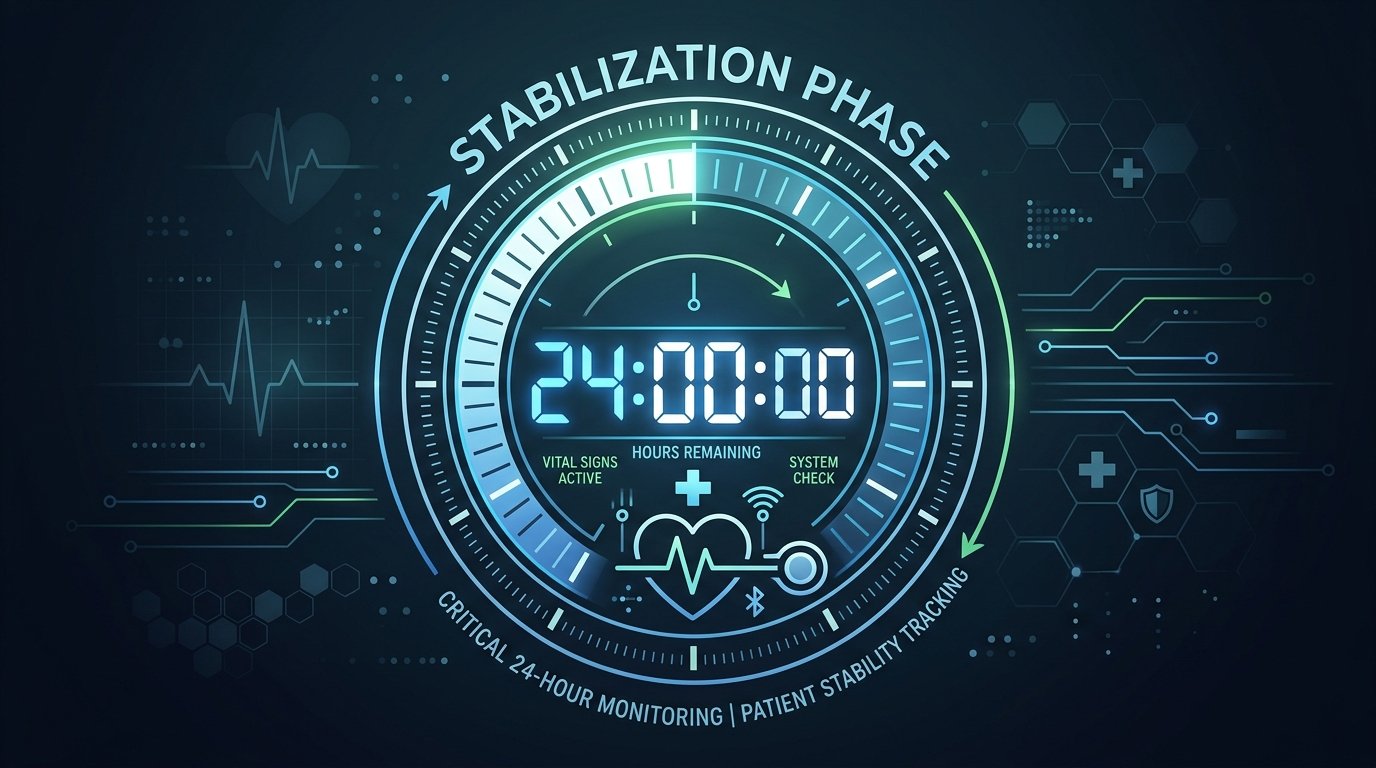
Have you ever applied a brand-new Continuous Glucose Monitor (CGM) sensor, only to have it scream "Low" while you feel perfectly fine? Or perhaps you just finished a balanced meal, and the sensor shows a vertical spike to 200 mg/dL, but a quick fingerstick check shows you are actually at a steady 110 mg/dL? If this sounds familiar, you are experiencing the "first 24-hour jitters" of a new sensor. While CGM technology is a miracle for metabolic health, the first day is notoriously the most inaccurate period of the sensor’s life cycle.
Managing these first 24 hours correctly is the difference between a week of peaceful, actionable data and a week of frustration and "sensor error" messages. Because your body views the tiny sensor filament as a foreign object, it triggers a localized immune response that can temporarily distort glucose readings. Understanding how to navigate this window—and how to use tools like GlucoAI to track your progress—will help you move from confusion to confidence.
Why the First 24 Hours Are Different
When you insert a CGM sensor, you aren't actually measuring your blood. Instead, you are measuring interstitial fluid—the fluid that surrounds your cells. The insertion process involves a small needle (the introducer) placing a flexible filament under your skin. Even though it is relatively painless, your body notices.
The moment that filament enters your tissue, your "wound-healing" response kicks in. Your body sends white blood cells and inflammatory markers to the site to investigate the "injury." This localized inflammation can consume glucose or create a barrier around the sensor, leading to readings that are significantly lower or more erratic than your actual blood sugar. This is why many manufacturers include a built-in "warm-up" period, but even after that timer ends, the sensor may still need time to reach an equilibrium with your body chemistry.
The "Pre-Soaking" Strategy
One of the most effective "pro tips" shared within the diabetes community is a technique called "pre-soaking." This involves applying your new sensor 12 to 24 hours before you actually intend to activate it or start the session in your glucose tracking apps.
By "soaking" the sensor, you allow the filament to sit in the interstitial fluid and let the initial inflammatory response settle down before the transmitter starts asking for data. When you finally click the transmitter into place and start the official warm-up, the sensor is already "acclimated" to your tissue. Many users find that pre-soaking almost entirely eliminates the "jumpy" data often seen on Day 1. However, please consult your doctor before changing your application routine, as individual skin sensitivity and medical needs vary.
Mastering the Art of Calibration
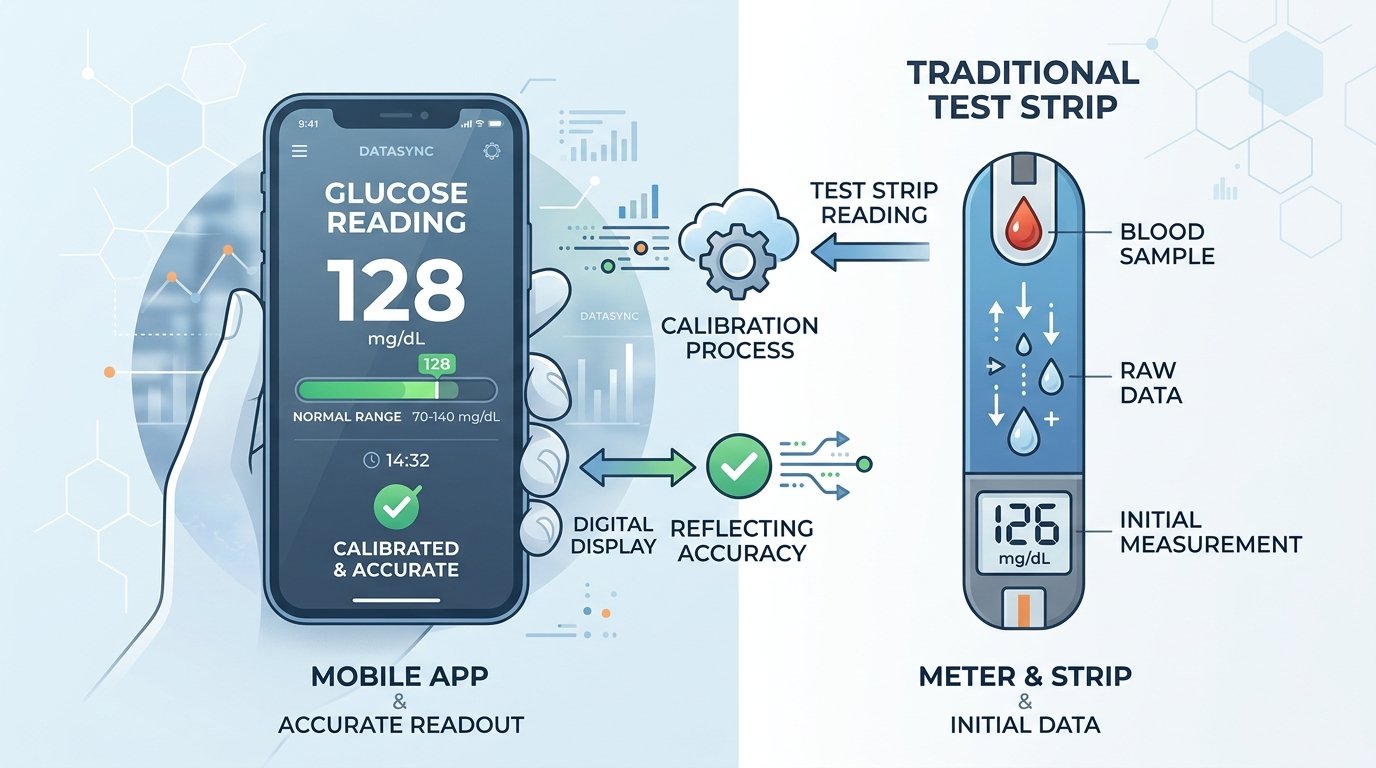
Calibration is the process of telling your CGM what your actual blood sugar is (via a fingerstick) so it can adjust its internal math. While it is tempting to calibrate the moment you see a discrepancy, doing it at the wrong time can actually make your sensor less accurate for the remainder of its life.
The "Flat Arrow" Rule
The golden rule of calibration is to only do it when your glucose levels are stable. In your diabetes management tools, look for a horizontal trend arrow. If your blood sugar is rising or falling rapidly (indicated by an up or down arrow), there is a significant lag between your blood and your interstitial fluid. Calibrating during a spike is like trying to sync two watches while one is moving at 60 mph; they will never truly align.
Avoid Over-Calibrating
It is a common mistake to calibrate five or 6 times in the first few hours because the numbers don't match. This "chasing the number" confuses the sensor's algorithm. Most experts recommend calibrating no more than twice in the first 24 hours—once after the initial warm-up (if the sensor requires it or is significantly off) and once again about 12 hours later.
Hydration: The Hidden Key to Accuracy
Since a CGM measures interstitial fluid, the "fluid" part of that equation is vital. If you are dehydrated, your interstitial fluid volume decreases, and the concentration of glucose can become skewed. Think of it like a pond: when the water level is high, the ecosystem is stable; when the pond starts to dry up, everything becomes concentrated and murky.
To ensure your new sensor has the best environment to work in, aim to drink at least 8 to 10 glasses of water in the 24 hours leading up to and following your sensor change. Proper hydration ensures that the glucose molecules can move freely to the sensor filament, providing a more "real-time" reflection of your metabolic state.
Managing Expectations: The 15-Minute Lag
Even when a sensor is perfectly calibrated and "broken in," it will never perfectly match a fingerstick. This is because of the "physiological lag time." It takes about 10 to 15 minutes for glucose to move from your bloodstream into the interstitial fluid.
If you just ate a high-carb meal, your fingerstick might show 150 mg/dL, while your CGM still shows 120 mg/dL. This doesn't mean the sensor is "wrong"—it just means it is looking at the past. During the first 24 hours, this lag can feel more pronounced. Be patient and look at the trends (the direction of the arrow) rather than just the single number.
Troubleshooting Common Day 1 Issues
Sometimes, despite your best efforts, the first 24 hours throw you a curveball. Here is how to handle the most common hiccups:
- Compression Lows: If you apply a sensor on your arm and then sleep on that arm, the pressure can push the interstitial fluid away from the sensor. This causes the CGM to report a "false low." If you wake up to a low alarm but feel fine, check a fingerstick first.
- The "Bleeder": There is a saying in the CGM community: "A bleeder is a leader." A tiny amount of blood at the insertion site often results in a very accurate sensor once the blood dries. However, if blood is leaking out from under the adhesive or causing the sensor to fail, it’s best to replace it.
- Sensor Error Messages: If your glucose tracking apps show "Sensor Error" or "Wait 3 Hours," it usually means the sensor is struggling to make sense of the data. This often happens if you are dehydrated or if the insertion site is inflamed. Give it time; most sensors recover on their own within a few hours.
Key Takeaways for a Smooth Start
- Be Patient: Treat the first 24 hours as a "learning phase" for the device. Do not make drastic insulin or medication changes based solely on a new sensor's readings without a fingerstick confirmation.
- Stability is King: Only calibrate when your glucose is steady and your trend arrow is horizontal.
- Hydrate Well: Water is the medium through which your sensor communicates. Keep the "pond" full.
- Use Data Wisely: Use a tool like GlucoAI to log your meals and activities alongside your CGM data. This helps you see if a "spike" on Day 1 was a genuine reaction to food or just a sensor glitch.
Summary
The first 24 hours of a new CGM sensor can be a test of patience, but by understanding the biological "warm-up" and following best practices like pre-soaking and stable calibration, you can significantly improve your data quality. Remember that a CGM is a tool for seeing the big picture—the trends, the patterns, and the "time in range"—rather than a perfect, second-by-second mirror of your blood.
If you are looking to get the most out of your monitoring, try integrating your data with GlucoAI. By combining your sensor readings with intelligent logging and AI-driven insights, you can turn those "jumpy" Day 1 numbers into a clear roadmap for your metabolic health. Always remember to consult your doctor regarding your target ranges and how to respond to sensor alerts. Happy monitoring!
Ready to see the patterns behind your numbers? Download GlucoAI today and start mastering your metabolic health with smarter glucose tracking!
GlucoAI — Smart Blood Sugar Monitor
Track, analyze, and optimize your glucose levels with AI-powered insights.