
- Published on
Painless CGM Adhesive Removal: A Step-by-Step Guide
Have you ever felt a wave of dread when your continuous glucose monitor (CGM) alerts you that it is time for a sensor change? You are not alone. While these small devices are absolute game-changers for tracking your blood sugar levels in real-time, peeling them off can sometimes feel like an unwanted waxing session.
If you are tired of dealing with red, raw, or irritated skin every time you change your sensor, you have come to the right place. Removing your CGM does not have to be a painful ordeal. With the right technique and a little bit of patience, you can protect your skin barrier and make sensor changes completely stress-free. Let us walk through how to safely and painlessly remove stubborn CGM adhesive.
Understanding Why CGM Adhesives Stick So Well
To remove CGM adhesive without pain, it helps to understand what we are working with. Medical-grade adhesives used on CGMs and overpatches are designed to withstand sweat, showers, swimming, and daily friction for up to 10 or 14 days. These adhesives are typically acrylic-based, meaning they form a tight, water-resistant bond with the top layer of your skin.
Because the adhesive is meant to stay put through thick and thin, ripping it off dry can pull away healthy skin cells along with it. This leads to micro-tears, redness, and contact dermatitis (an itchy, red rash caused by skin irritation). By learning how to chemically break down these sticky bonds before peeling, you can preserve your skin health and keep your glucose monitoring journey comfortable.
The Painless Removal Kit: What to Gather
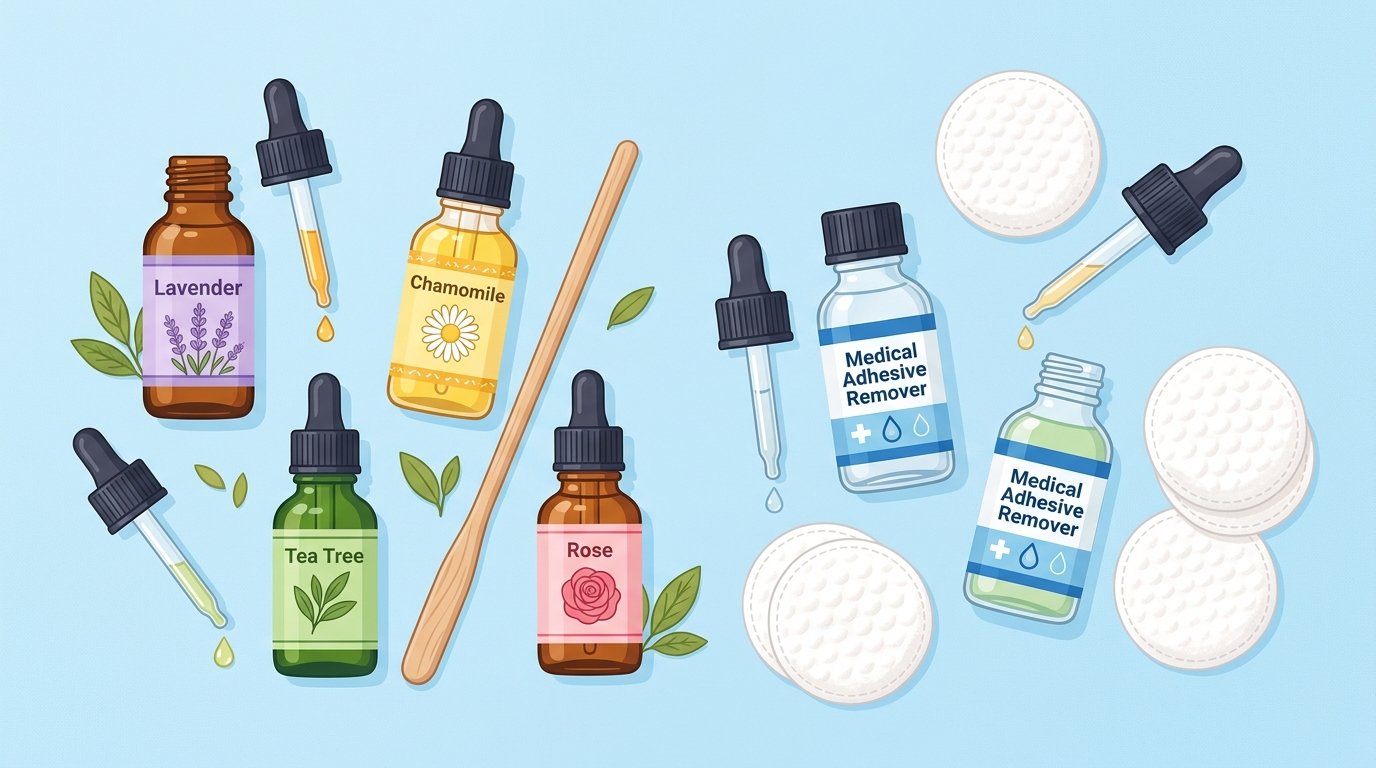
Before you even touch your sensor, gather a few simple household or medical supplies. Having these items ready will prevent you from picking at the edges of the adhesive with your fingernails, which is a major cause of skin irritation.
- An adhesive solvent: This can be a commercial medical adhesive remover (available as liquid or wipes) or a natural oil. Baby oil, coconut oil, and olive oil work incredibly well.
- Cotton balls or cosmetic pads: Excellent for applying oils or liquid removers directly to the patch.
- Warm water and mild soap: For cleaning the area after removal.
- A soothing moisturizer: Look for creams containing aloe vera, ceramides, or colloidal oatmeal to help the skin recover.
Step-by-Step Guide to Painless CGM Removal
Now that you have your supplies ready, let us walk through the removal process step-by-step. Remember, the golden rule of painless removal is to go slow.
Step 1: Saturate the Adhesive
Start by heavily soaking the fabric patch of your CGM or overpatch. If you are using baby oil or coconut oil, pour a generous amount onto a cotton pad and press it firmly against the adhesive. Ensure the entire border of the patch is completely saturated. If you are using medical adhesive remover wipes, rub the wipe thoroughly along the edges and let the liquid seep into the fabric.
Step 2: The Power of the Pause
This is the most crucial step that many people skip. Once you apply the oil or remover, wait five to 10 minutes. This gives the solvent time to penetrate the fabric and dissolve the chemical bonds of the acrylic adhesive. Use this time to relax, read a book, or check your recent glucose trends on your glucose tracking app. You will know it is working when the edges of the patch start to lift naturally on their own.
Step 3: Use the "Peel and Roll" Technique
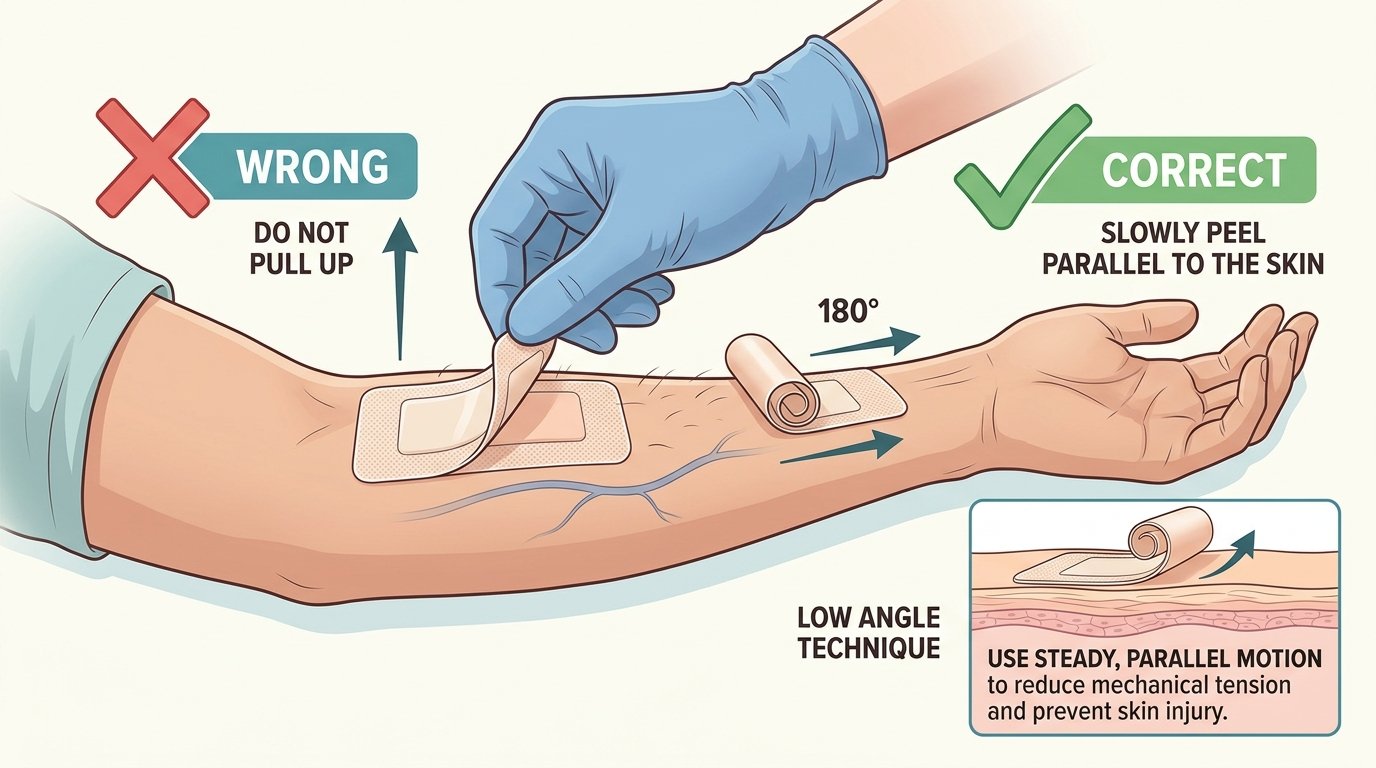
When you are ready to remove the sensor, do not pull upward. Pulling a sticky patch straight up pulls your skin up with it, causing pain and micro-tears. Instead, peel one edge back slightly, and then roll the adhesive back parallel to your skin.
Keep your fingers close to the peeling line. Use your other hand to gently press down on the skin right behind the peeling adhesive. This counters the pulling force and keeps your skin flat and relaxed.
Step 4: Cleanse and Soothe
Once the sensor is off, you might notice some sticky, grey residue left behind. Do not scrub your skin to get this off. Instead, apply a fresh splash of oil or adhesive remover, let it sit for a minute, and gently wipe it away with a soft cloth. Wash the entire area with warm water and mild, fragrance-free soap to remove any remaining oils or solvents.
Common Removal Mistakes to Avoid
To keep your skin in top shape for future sensor placements, avoid these common removal pitfalls:
- Ripping it like a band-aid: While this might seem fast, it is guaranteed to damage your skin barrier and make the next application painful.
- Using rubbing alcohol for stubborn adhesive: While alcohol is great for prepping the skin before application, using it to remove stubborn adhesive can dry out your skin, cause burning on micro-tears, and worsen irritation.
- Neglecting skin rotation: Applying a new sensor to the exact same spot can lead to lipohypertrophy (an accumulation of fat under the skin) and severe skin irritation. Always rotate your sensor sites, keeping them at least two inches apart from the previous site.
Pro Tips for Your Next CGM Sensor Application
If you have sensitive skin, preparation is just as important as removal. To make future removals even easier, consider using a medical skin barrier film before applying your next sensor. This liquid barrier forms a protective layer between your skin and the adhesive, making the sensor stick well while shielding your skin from direct contact with the glue.
Additionally, keeping track of your sensor rotation sites and skin health can prevent long-term irritation. Many users find it incredibly helpful to log their sensor locations, wear times, and any skin reactions using advanced health tools. Using a comprehensive digital diary can help you identify which spots on your body heal the fastest and stay the healthiest.
Summary
Painless CGM removal is all about patience and using the right tools to break down tough medical adhesives. By shifting away from quick, dry rips and embracing a gentle, oil-infused removal routine, you can completely eliminate skin tears and chronic irritation.
Key Takeaways
- Saturate first: Always use baby oil, coconut oil, or medical adhesive remover to break down the adhesive bonds before peeling.
- Wait 10 minutes: Let the solvent sit on the patch to do the heavy lifting for you.
- Peel low and slow: Roll the adhesive back parallel to your skin rather than pulling straight up.
- Soothe the skin: Cleanse the area with mild soap and apply a gentle moisturizer to help the skin barrier recover.
Maintaining healthy skin is a vital part of your overall metabolic health and diabetes management journey. To make tracking your health even simpler, consider downloading GlucoAI. GlucoAI helps you easily log your daily habits, monitor your body's patterns, and gain personalized insights into your metabolic well-being. Take control of your health journey today and download GlucoAI from your favorite app store!
Disclaimer: Please consult your doctor or healthcare provider before making changes to your diabetes management routine or if you experience severe, persistent skin reactions from your CGM.
GlucoAI — Smart Blood Sugar Monitor
Track, analyze, and optimize your glucose levels with AI-powered insights.